How To Use A Mat Cutter : An Easy Guide For Beginners
Cutting mats can be intimidating for a beginner, especially if you present them with a heavy-duty cutter meant for high-end professional use.
These mat cutters are specialized tools meant for cutting through high-density papers or cardboards. Such mats are often used around a photo to fill up the excess space around it inside the frame. However, you can use it for other purposes and on other similar materials too.
If you are confused by the new mat cutter at your workspace or home, let us walk you through the steps required to successfully carve out the perfect bevels. Keep reading to understand how to use a mat cutter like a pro!
Table of Contents
Parts Of A Mat Cutter

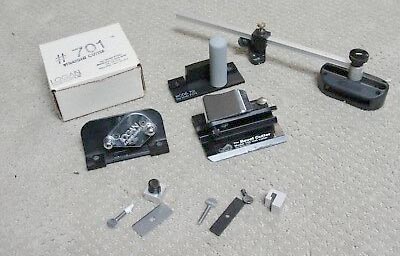
There are usually three prominent parts of a common mat cutter. Their structure includes a ruler or rail, along with two kinds of blades embedded within the tool.
One of them is an angled cutter which helps you to establish a uniform space inside the mat with smooth edges.
The other cutter is a rolling one, responsible for cutting the exterior edges. You can use it to cut down the original size of your mat to suit your particular art or decor project.
While you use these two blades for making the cuts, the long ruler or rail makes it possible for you to stay in the right place and cut along the marked lines. You will find the ruler and the rail set on two sides of your cutter’s top surface.
How To Use A Mat Cutter?
1. Cut Off Excess Space
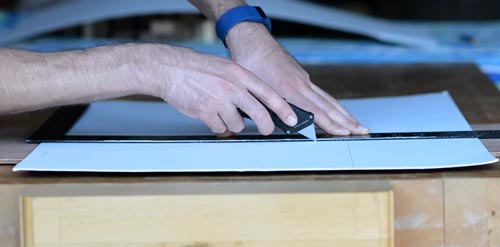
For the first step, all you need to do is cut off the excess space from around your original mat. You can do this easily using an x-acto knife and a ruler. Measure the dimensions of the frame you will be putting this mat into, so that you can cut the mat in the same size.
2. Marking The Mat
Take your properly sized mat cardboard and flip it so that its back goes under the blades of your cutter. This is where you will need to make the marks and draw the lines along which the cuts will go.
Measure them accurately so that your artwork or photo fits perfectly into its window.
Also, remember to keep a little more distance at the bottom so that the photo doesn’t seem
shorter than it actually is. This trick, known as weighting the bottom, is always used by professionals in matting to keep the photo’s charm intact from the extra visual weight in this area.
The distance needs to be only ¼ to ½ an inch. Doing this is especially important if you plan to hang the framed photo at a position that is above the general eye level.
3. Place The Mat
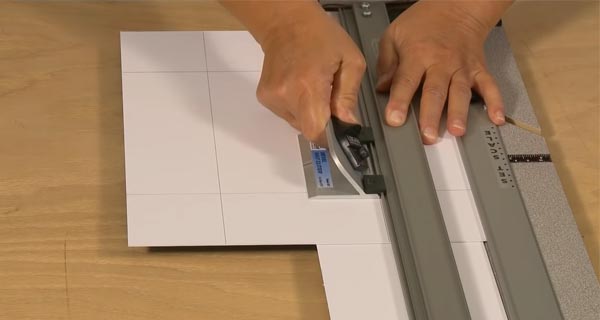
Now place your board or mat on the cutter’s space such that the lines drawn on it align with the ruler or rail where the cutter has been clicked into. This means, you will need to slide the mat under the rail in such a way that its edge falls on the line you have drawn on board.
4. Cutting The Mat
This is the part where you have to make the cut. Once your mat is set along the rail, push the blade through it with your thumb while also pushing the cutter forward along the rail. If you are a complete beginner, you can take it slow so that all of your movements are controlled and the cuts are within the marks.
Tips To Use a Mat Cutter

Extra Blades
To ensure the cleanest cut, keep one or two extra blades ready to go. This will come in handy if your current blade doesn’t have a sharp edge anymore or if its tip breaks off.
Older blades often lose their sharpness over time and then struggle to make a clean cut on materials. So if you observe such an issue, you can just switch to a newer blade and continue the project without any pause.
Test Cuts
Many mat cutters include sample mats in their set which you can use to test the tool with. Before cutting directly on the main mat, try the cutter on a sample one to check if it’s working properly.
These test cuts will tell you if the blades and the ruler or rail are all working properly. Once you observe a smooth and uniform cut through the sample mats, you can proceed to the main task at hand.
Conclusion
Now that you know how to use a mat cutter and more, you can easily start trying out different crafts with it and also frame a photo you love with perfectly uniform bevels. You can give a new appeal to the images by surrounding them with a black or white mat to make them pop!

