How To Iron Perler Beads? Step By Step Guideline
Kids love to play with Perler beads, don’t they? They will sit for quite a long time, setting those beads on pegboards to make truly incredible things.
That being said, without knowing the right process of ironing the Perler beads, you won’t be able to remove the stunningly designed item from the pegboard in one piece.
Ironing the Perler beads is not as simple as it may seem. The iron you use, the shade of the Perler beads, the movement you use as you iron, and the period of time that you iron all become an integral factor.
To protect your iron and the tiny beads, you will have to know how to iron Perler beads in the right way. Read on to find out!
Table of Contents
What Are Perler Beads?

Before you understand the right way to iron perler beads, you need to know what the Perler Beads actually are.
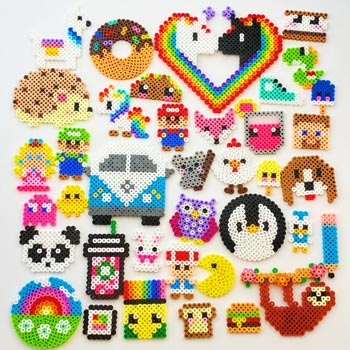
The Perler beads are tiny, heat-initiated beads that you can lay on pegboards or a mat to make spectacular designs.
Since the Perler beads are heat activated, the beads will connect after applying heat, turning your design into a single art piece.
These beads also come in various colors and shapes, which will allow you to produce exciting designs or even create portraits.
How To Iron Perler Beads In Different Ways
To iron the Perler dots with utmost precision, knowing the right way of ironing them is necessary. It will not only provide additional convenience but will also make the designs made with beads look better.
There are multiple ways by which you will be able to iron the Perler beads. Keep reading to find out a few of the most effective methods.
With Parchment Paper

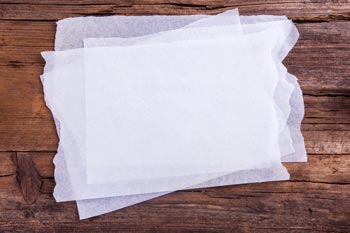
Using parchment paper is the safest way to iron Perler beads. This paper will keep the beads safe from burning, and it won’t also stick to the Perler beads.
Check out the steps to conduct this ironing method.
- First, set your Perler bead creation on the pegboard and then place it on a plane and heat-safe surface.
- Once you have done that, place the parchment paper on top of it and set the temperature to medium.
- Wait for a few seconds for the iron to heat up.
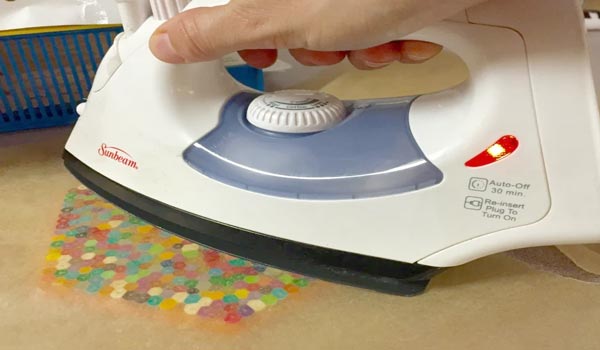
- Now press the hot iron onto the parchment paper covered with your specially designed Perler beads.
- Don’t press the iron for too long. Pick it up after small intervals, and then press again. It usually takes around 15 to 20 seconds for the Perler beads to connect.
- Keep on ironing the beads until they are completely fused together and achieved the right form.
- Finally, let it cool for a couple of minutes and then peel the Perler beads and the paper off the pegboard.
Caution
The parchment paper will completely melt if the iron is pressed for a long period of time. However, if you don’t want to see the Perler beads’ opening, keep on ironing the parchment paper until it partially melts and closes the gaps.
While ironing, you must make sure that the iron doesn’t touch the pegboard that doesn’t have the parchment paper. Otherwise, you will risk melting the board.
Using Wax Paper

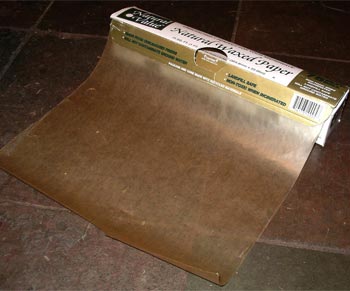
It is not the most suitable method for ironing Perler beads using wax papers. The wax papers usually stick to the beads, and removing them is quite difficult.
We will suggest you go for this method only if you don’t have access to any other papers for ironing.
The steps for ironing the Perler beads using wax paper are similar to that of Parchment paper. But, instead of peeling the paper off the board, you will have to keep it under running water and rub it off using your fingers.
For this process, you will need wax paper along with clean water. Let’s have a detailed look at the process of using wax paper for ironing the Perler beads.
- First and foremost, create the pattern you want by setting the beads on a pegboard or a mat.
- Place the board on such a surface that has very low dust and airflow. Clean the surface of the beads with a microfiber cloth to remove dust and debris.
- Heat up your iron at medium heat and wait till it reaches its maximum range.
- After that, start ironing but don’t press it for too long. Pick it up at regular intervals, reposition the pegboard, and iron again.
- It will take almost half a minute for all the beads to be fused.
- If the Perler beads don’t fuse even after a minute, turn it and place wax paper on the opposite side of the bead, and iron it just like the other side.
- Then let it cool down for a couple of minutes. After cooling down, keep the board under running cold water and start peeling the wax paper from one corner.
- Finally, rub the residues of the wax paper from the surface by rubbing with your hand. At this point, your specially made design with Perler beads will be ready for exhibition.
Caution
Turn off the steam setting before you start ironing the beads covered with wax paper. Else the paper will get wet and will make the ironing process inconvenient. It can also change the actual design of the beads.
To prevent any unwanted burns, you should let your Perler beads design cool down for a good couple of minutes. The pegboard will be extremely warm right after you finish ironing, so you must remain highly cautious while handling it.
Final Word
From structures to artistic designs, everything can be made using the Perler beads. To properly utilize the specially made designs, you need to connect all the beads together.
Ironing the Perler beads is the most effective method to connect them. Since there is no other convenient alternative of ironing to fuse them, knowing the right process to iron the Perler beads is extremely important.
We have gathered a couple of ideas to help you understand how to iron Perler beads. Hopefully, this article has helped you iron the Perler beads without damaging them.
You Also Read:

